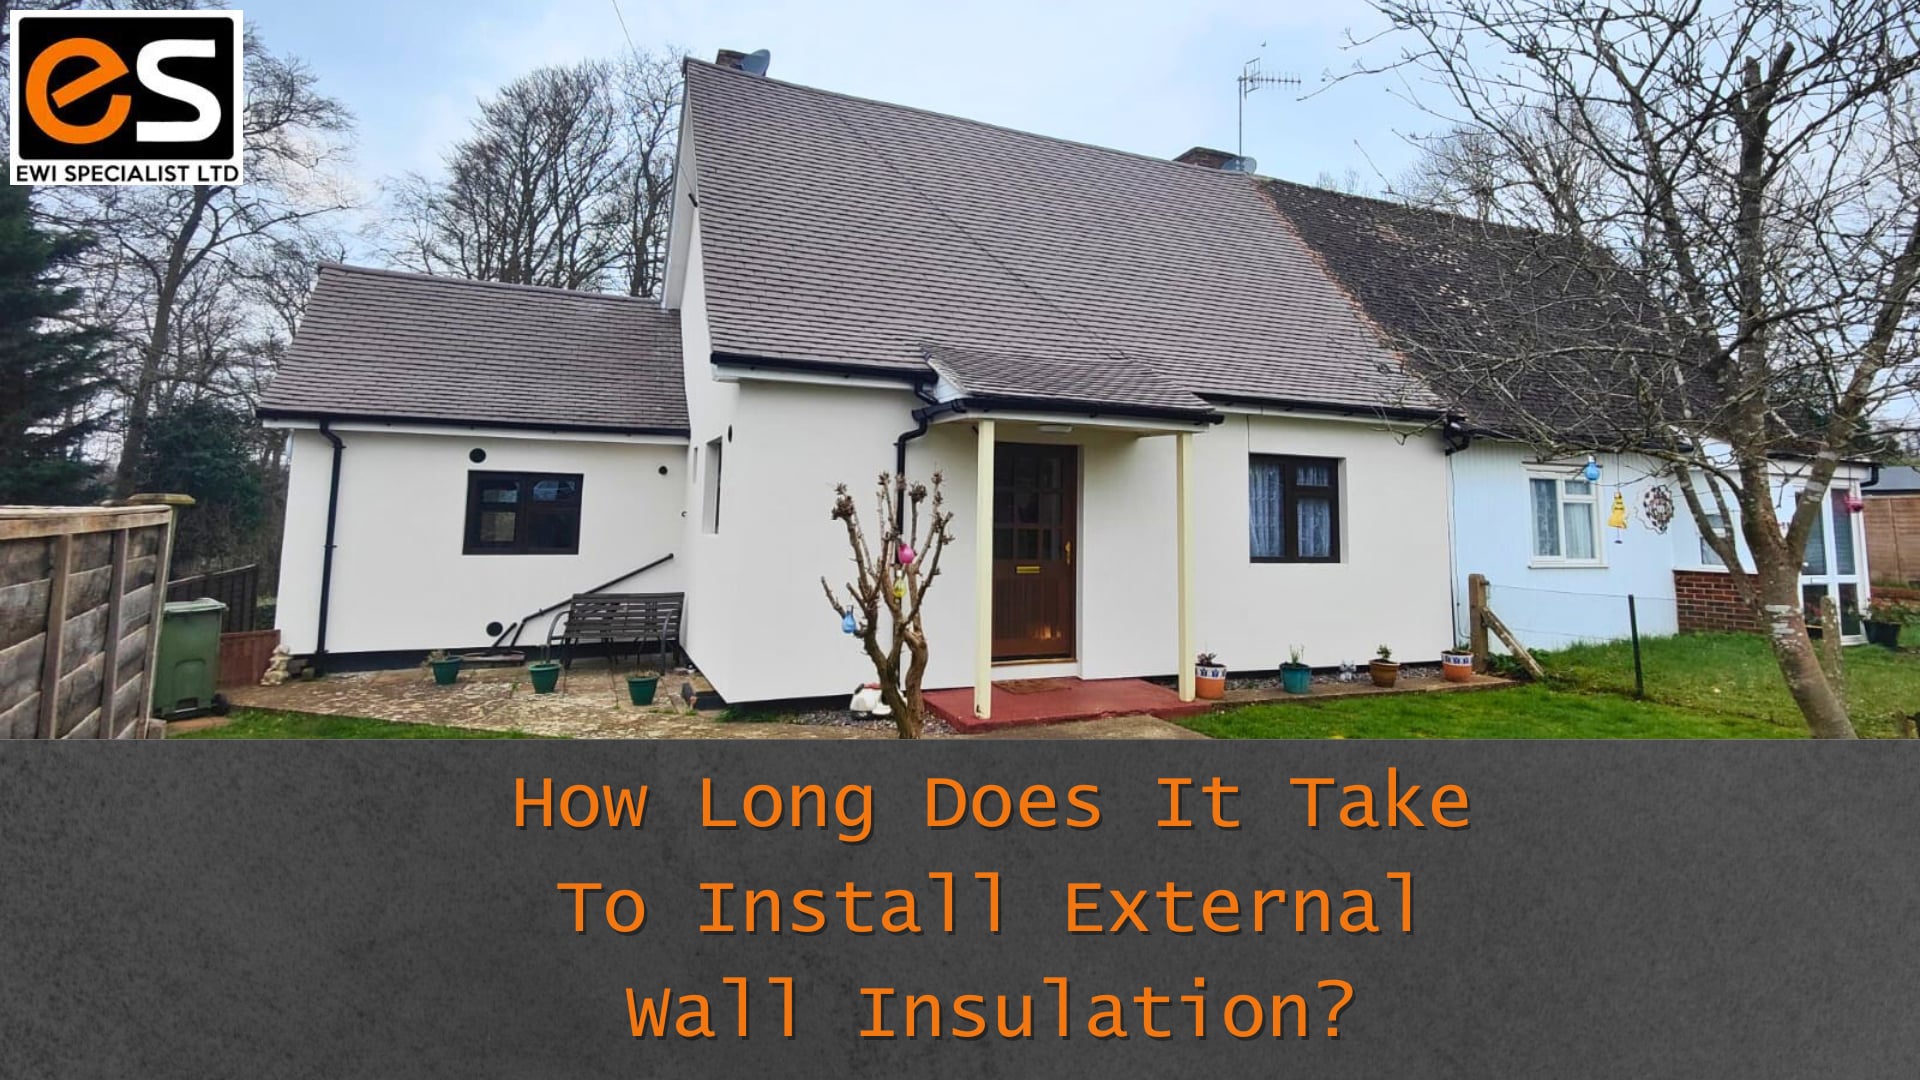
Thinking about boosting your home’s energy efficiency and comfort with External Wall Insulation (EWI)? You’re making a great choice! EWI is a game-changer for maintaining a cosy, energy-efficient home throughout those chilly UK winters and beyond. But, what does the installation process involve, and how long does it take to install external wall insulation?
In this guide, we’ll walk you through the entire EWI installation process, covering everything from a step-by-step installation guide and the time required to install External Wall Insulation, to preparing the house for insulation.
Content Page
- How Is External Wall Insulation Installed?
- How Long Does It Take To Install External Wall Insulation?
- How To Prepare The House For External Wall Insulation?
How Is External Wall Insulation Installed?
Installing External Wall Insulation is a detailed process that not only enhances your home’s thermal efficiency but also gives its exterior a fresh new look. Here’s a breakdown of the key phases involved in EWI installation, ensuring you know exactly what to expect:
Preparation: Before anything else, the exterior of your home needs to be prepared. This stage typically involves a thorough assessment of the external walls to identify any repairs needed before insulation can be applied. It’s crucial to fix any structural issues or damp problems first. All pipes, cables, and fixtures on the exterior walls will also be adjusted or temporarily removed to facilitate smooth installation.
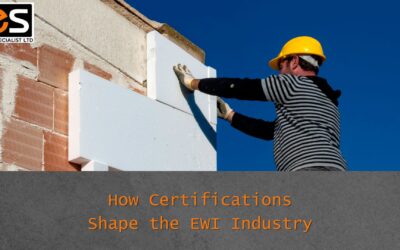
Application: Next comes the main event—applying the insulation boards. These are securely fixed to the external walls using mechanical fixings and adhesive to ensure they stay put. The type of insulation material used (like EPS boards or mineral wool) depends on your specific needs and the property’s requirements. This stage is critical as it directly affects the effectiveness of the insulation.
Finishing Touches: Once the insulation boards are in place, the next step is to apply a protective layer of render. This not only protects the insulation from the elements but also provides a clean, attractive finish to your home’s exterior. The render can be customised in terms of colour and texture, allowing you to personalise the look according to your taste. Finally, any external features such as pipes and fixtures are reinstalled, and the installation area is cleaned up.
Inspection: To ensure everything is up to standard, a final inspection is usually conducted. This guarantees that the installation meets all regulatory requirements and that your new insulation system functions optimally.
How Long Does It Take To Install External Wall Insulation?
The time required to install External Wall Insulation varies based on the size of your property:
Small properties, such as terraced houses or small semi-detached homes, typically require about 1 to 2 weeks for complete installation. This includes preparation, insulation fitting, and finishing. Medium-sized properties, like standard detached houses, might take slightly longer, generally between 2 to 3 weeks. The increased surface area simply means more ground to cover, extending the installation phase. Large properties or those with complex architectural features could need up to 3 to 4 weeks. Complexities such as additional corners, unusual wall features, or larger overall surface areas demand more detailed work, which adds to the installation time.
Each stage of the process must be meticulously planned and executed to ensure optimal insulation benefits, affecting the overall duration. Always consider potential variables like weather conditions or unexpected repairs, which can extend these timelines. Discussing your specific situation with an EWI specialist will provide a more precise estimate tailored to your property’s characteristics.
How To Prepare The House For External Wall Insulation?
Preparing the house for EWI installation is a crucial step to ensure everything goes smoothly and efficiently.
Here are some practical steps to get your home ready.
Clear the Perimeter
Make sure the area around your home is clear. Remove any garden furniture, plant pots, and other obstacles from around the walls. This not only provides the EWI installation team with unobstructed access but also protects your belongings from damage during the work.
Secure Fragile Items
EWI installation involves some heavy-duty work, which can cause vibrations through the walls. It’s wise to secure or remove any fragile items hanging on the walls or placed on shelves that share walls with the exterior. This includes pictures, mirrors, and ceramic ornaments, which could potentially fall and break.
Identify Repairs
Before the insulation is applied, it’s crucial to assess the exterior walls for any structural issues or damp problems. Address these repairs promptly to ensure that the insulation adheres properly and functions effectively. Ensuring the walls are in good condition can prevent future complications.
Adjust External Features
All pipes, cables, and fixtures on the exterior walls will need to be adjusted or temporarily removed. This step is vital to ensure that the insulation material fits seamlessly and uniformly across the surface.
Provide Access
Ensure that there is clear access to your property. This might involve coordinating with neighbours if scaffolding needs to extend beyond your property line or if access through shared spaces is required. Clear communication helps prevent any disruptions.
Discuss Special Requirements
If there are specific areas around your home that need special attention or have accessibility issues, discuss these with EWI specialists beforehand. This can include areas with complex architectural features, delicate garden layouts, or restricted access.
Why Preparation for External Wall Insulation Matters
Properly preparing the home for EWI not only facilitates a smoother and quicker installation process but also minimises the risk of property damage and ensures that installers can work efficiently without interruptions. Taking these steps can significantly enhance the overall success of the project, reducing stress for everyone involved.
As we’ve explored in this guide, the installation of External Wall Insulation is a process that requires careful planning and execution. From the initial preparation of your home’s exterior to the final inspection of the installed insulation, each step plays a crucial role in ensuring the success of the project. Preparing your property adequately for EWI not only helps in achieving a smoother installation but also safeguards your home and its surroundings during the work.
The long-term benefits of investing in EWI are substantial. Not only does it enhance the thermal efficiency and comfort of your home, but it also significantly boosts property value. By improving insulation, EWI helps to reduce energy consumption, lower heating bills, and increase the overall living comfort, making it an invaluable addition to any home.
At EWI Specialist, we offer expert assessments and can provide detailed information tailored to the specific needs of your home.
Don’t hesitate to contact us now to discuss how EWI can transform your property and enhance your living experience. Let’s work together to make your home more energy-efficient and comfortable.


